
Making fake teeth with acrylic is a great way to create a realistic-looking prosthetic. Whether you’re creating a costume piece or need a replacement tooth, this is an easy and affordable solution. With the right materials and tools, anyone can make fake teeth with acrylic at home. All you need is some acrylic paint, acrylic coating, and a mold of the desired shape. With just a few simple steps, you’ll be able to create realistic-looking fake teeth that will last for years to come.The use of acrylic to make fake teeth offers a number of benefits. Acrylic is a lightweight material that is easy to work with, making it a great choice for creating comfortable, custom-fitted dentures. Additionally, acrylic is highly durable and more resistant to stains and odors than other materials used for making dentures. Acrylic can also withstand high temperatures, meaning hot foods and beverages won’t cause any damage or discoloration. Finally, acrylic can be easily colored and shaped to match the patient’s natural teeth, resulting in a more realistic look and feel.
Types of Acrylic for Fake Teeth
Dentures are a type of dental prosthesis that are used to replace missing teeth. They can be made from a variety of materials, but the most common type is acrylic. Acrylic dentures are less expensive than other types, and they offer a great deal of flexibility in terms of customization. There are two main types of acrylic used in denture fabrication: heat cured and cold cured.
Heat-cured acrylic is the most commonly used material for making dentures. It is heated and then molded into the desired shape. This type of acrylic is strong and durable, and it can hold its shape for many years. Heat-cured acrylic also has excellent color stability, which means it won’t discolor over time.
Cold-cured acrylic is also known as “self-curing” or “no-heat” acrylic. This type of material does not require heat to be molded into shape, so it is easier to use and less time consuming to fabricate than heat-cured acrylic. Cold-cured acrylic has a softer feel than heat-cured acrylic, so it may be more comfortable for some patients. However, this type of material will not last as long as heat-cured acrylic and may need to be replaced more often.
Both types of acrylic can be used to make dentures that look and feel natural, so it’s important to discuss your options with your dentist before making a decision on which type you prefer. Both types have their advantages and disadvantages, so you should choose the one that best meets your needs and budget.
Preparing the Acrylic for Fake Teeth
The process of preparing the acrylic material for fake teeth is a critical step in creating dentures. It involves mixing the acrylic powder with a liquid, typically a monomer, to form a thick paste. This paste is then molded into the desired shape and left to harden. The resulting acrylic material is then used to create realistic looking artificial teeth that can replace natural teeth.
The first step in preparing the acrylic is to mix the powder and liquid together. This is usually done by hand using a spatula or spoon but can also be done in an automated mixer. It’s important to get the proportions right so that it forms a thick paste that won’t run or drip off of the mold. Once mixed, it should be left to sit for several minutes before being poured into the mold.
Once poured into the mold, it needs to be left alone until it has hardened and solidified. Depending on how thickly it was poured, this could take anywhere from 10 minutes to 2 hours or more. During this time, it’s important not to move or disturb the mold as any movement could cause air bubbles or cracks in the finished product.
Once hardened, the dental acrylic can then be removed from its mold and trimmed if necessary. It’s important that all sharp edges are rounded off and any excess material is removed so that it fits comfortably in the mouth when worn as dentures. Finally, after polishing and cleaning up any imperfections, your custom-made fake teeth are ready for use!
Gathering Materials
Before you begin making your fake teeth with acrylic, you’ll need to gather a few supplies. You’ll need some dental acrylic, which can be purchased from most craft stores. You also need a small container to mix the acrylic in, a spatula or spoon for stirring, and a soft brush for brushing on the acrylic. Additionally, you’ll need a mold or template that you can use to shape your fake teeth. This can be made out of clay or purchased from a craft store.
Mixing the Acrylic
Once you have all of your supplies gathered, it’s time to mix the dental acrylic. Start by pouring the powder into the container and add drops of liquid until it reaches a thick paste-like consistency. Stir the mixture with your spatula until it is thoroughly blended together. Make sure that all lumps are gone and that there are no air bubbles in the mixture.
Applying the Acrylic
Now that your dental acrylic is ready, it’s time to apply it to your mold or template. Use your brush to spread an even layer of acrylic over the mold or template. Make sure that all areas are well covered and that no air bubbles have formed in the mixture. Once done, allow this layer to dry completely before moving on to the next step.
Creating Fake Teeth
Once the first layer has dried completely, you can start creating your fake teeth using additional layers of dental acrylic. Apply each new layer of acrylic until you reach your desired thickness and shape for each tooth. Once done, allow these pieces to dry completely before removing them from the mold or template.
Finishing Touches
Finally, once all of your pieces are dry and have been removed from their molds or templates, it’s time for some finishing touches! If you want to add color to your fake teeth, now is the time to do so by brushing on some paint or dye as desired. Finally, use a soft cloth to buff out any imperfections in order to give them an extra bit of shine!
Making Fake Teeth with Acrylic: Supplies Needed
Making fake teeth with acrylic requires a few basic supplies and tools to craft the perfect set of chompers. This includes a dental acrylic powder and liquid, a molding tray, a spatula, mixing spoons, and some type of curing light. The dental acrylic powder and liquid are the main components of the fake teeth and must be mixed together in order to create the desired shape. The molding tray is used to hold the mixture while it sets, while the spatula is used to mix it until it reaches the desired consistency. Additionally, mixing spoons help combine the powder and liquid together for an even mix. Lastly, a curing light is used to harden the mixture so that it can be removed from the molding tray. With all these supplies on hand, one can easily make their own set of fake teeth with acrylic.
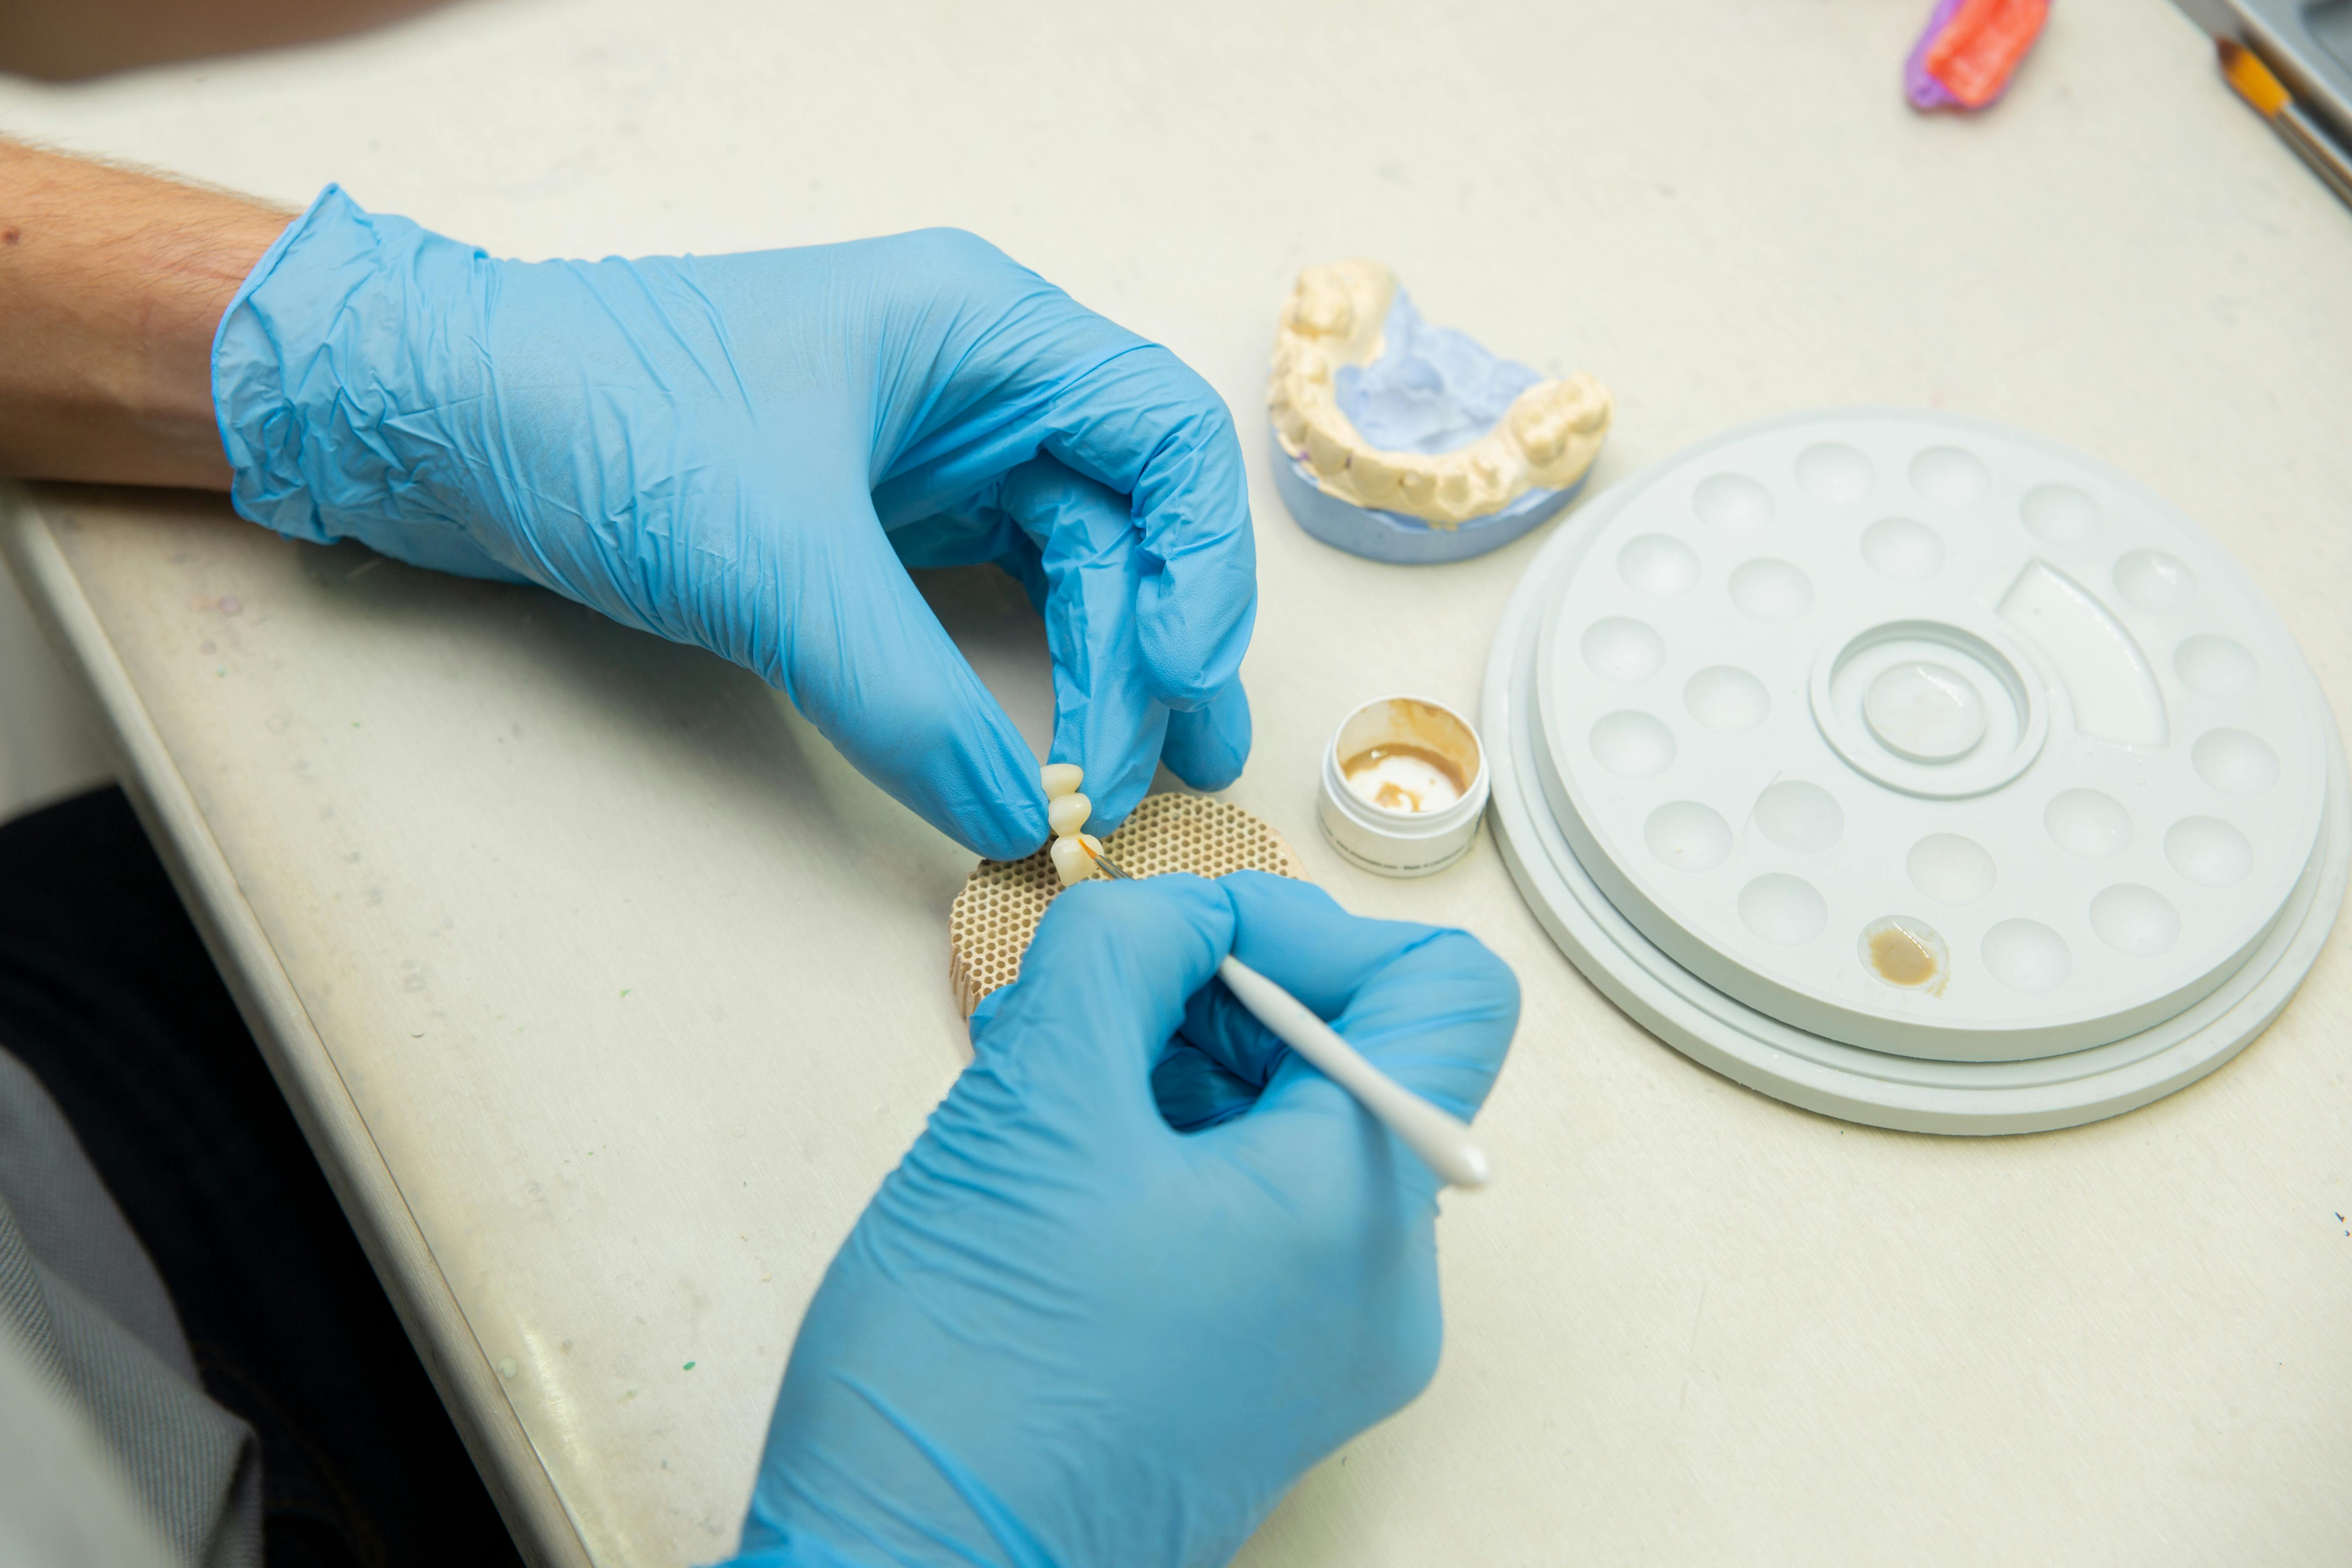
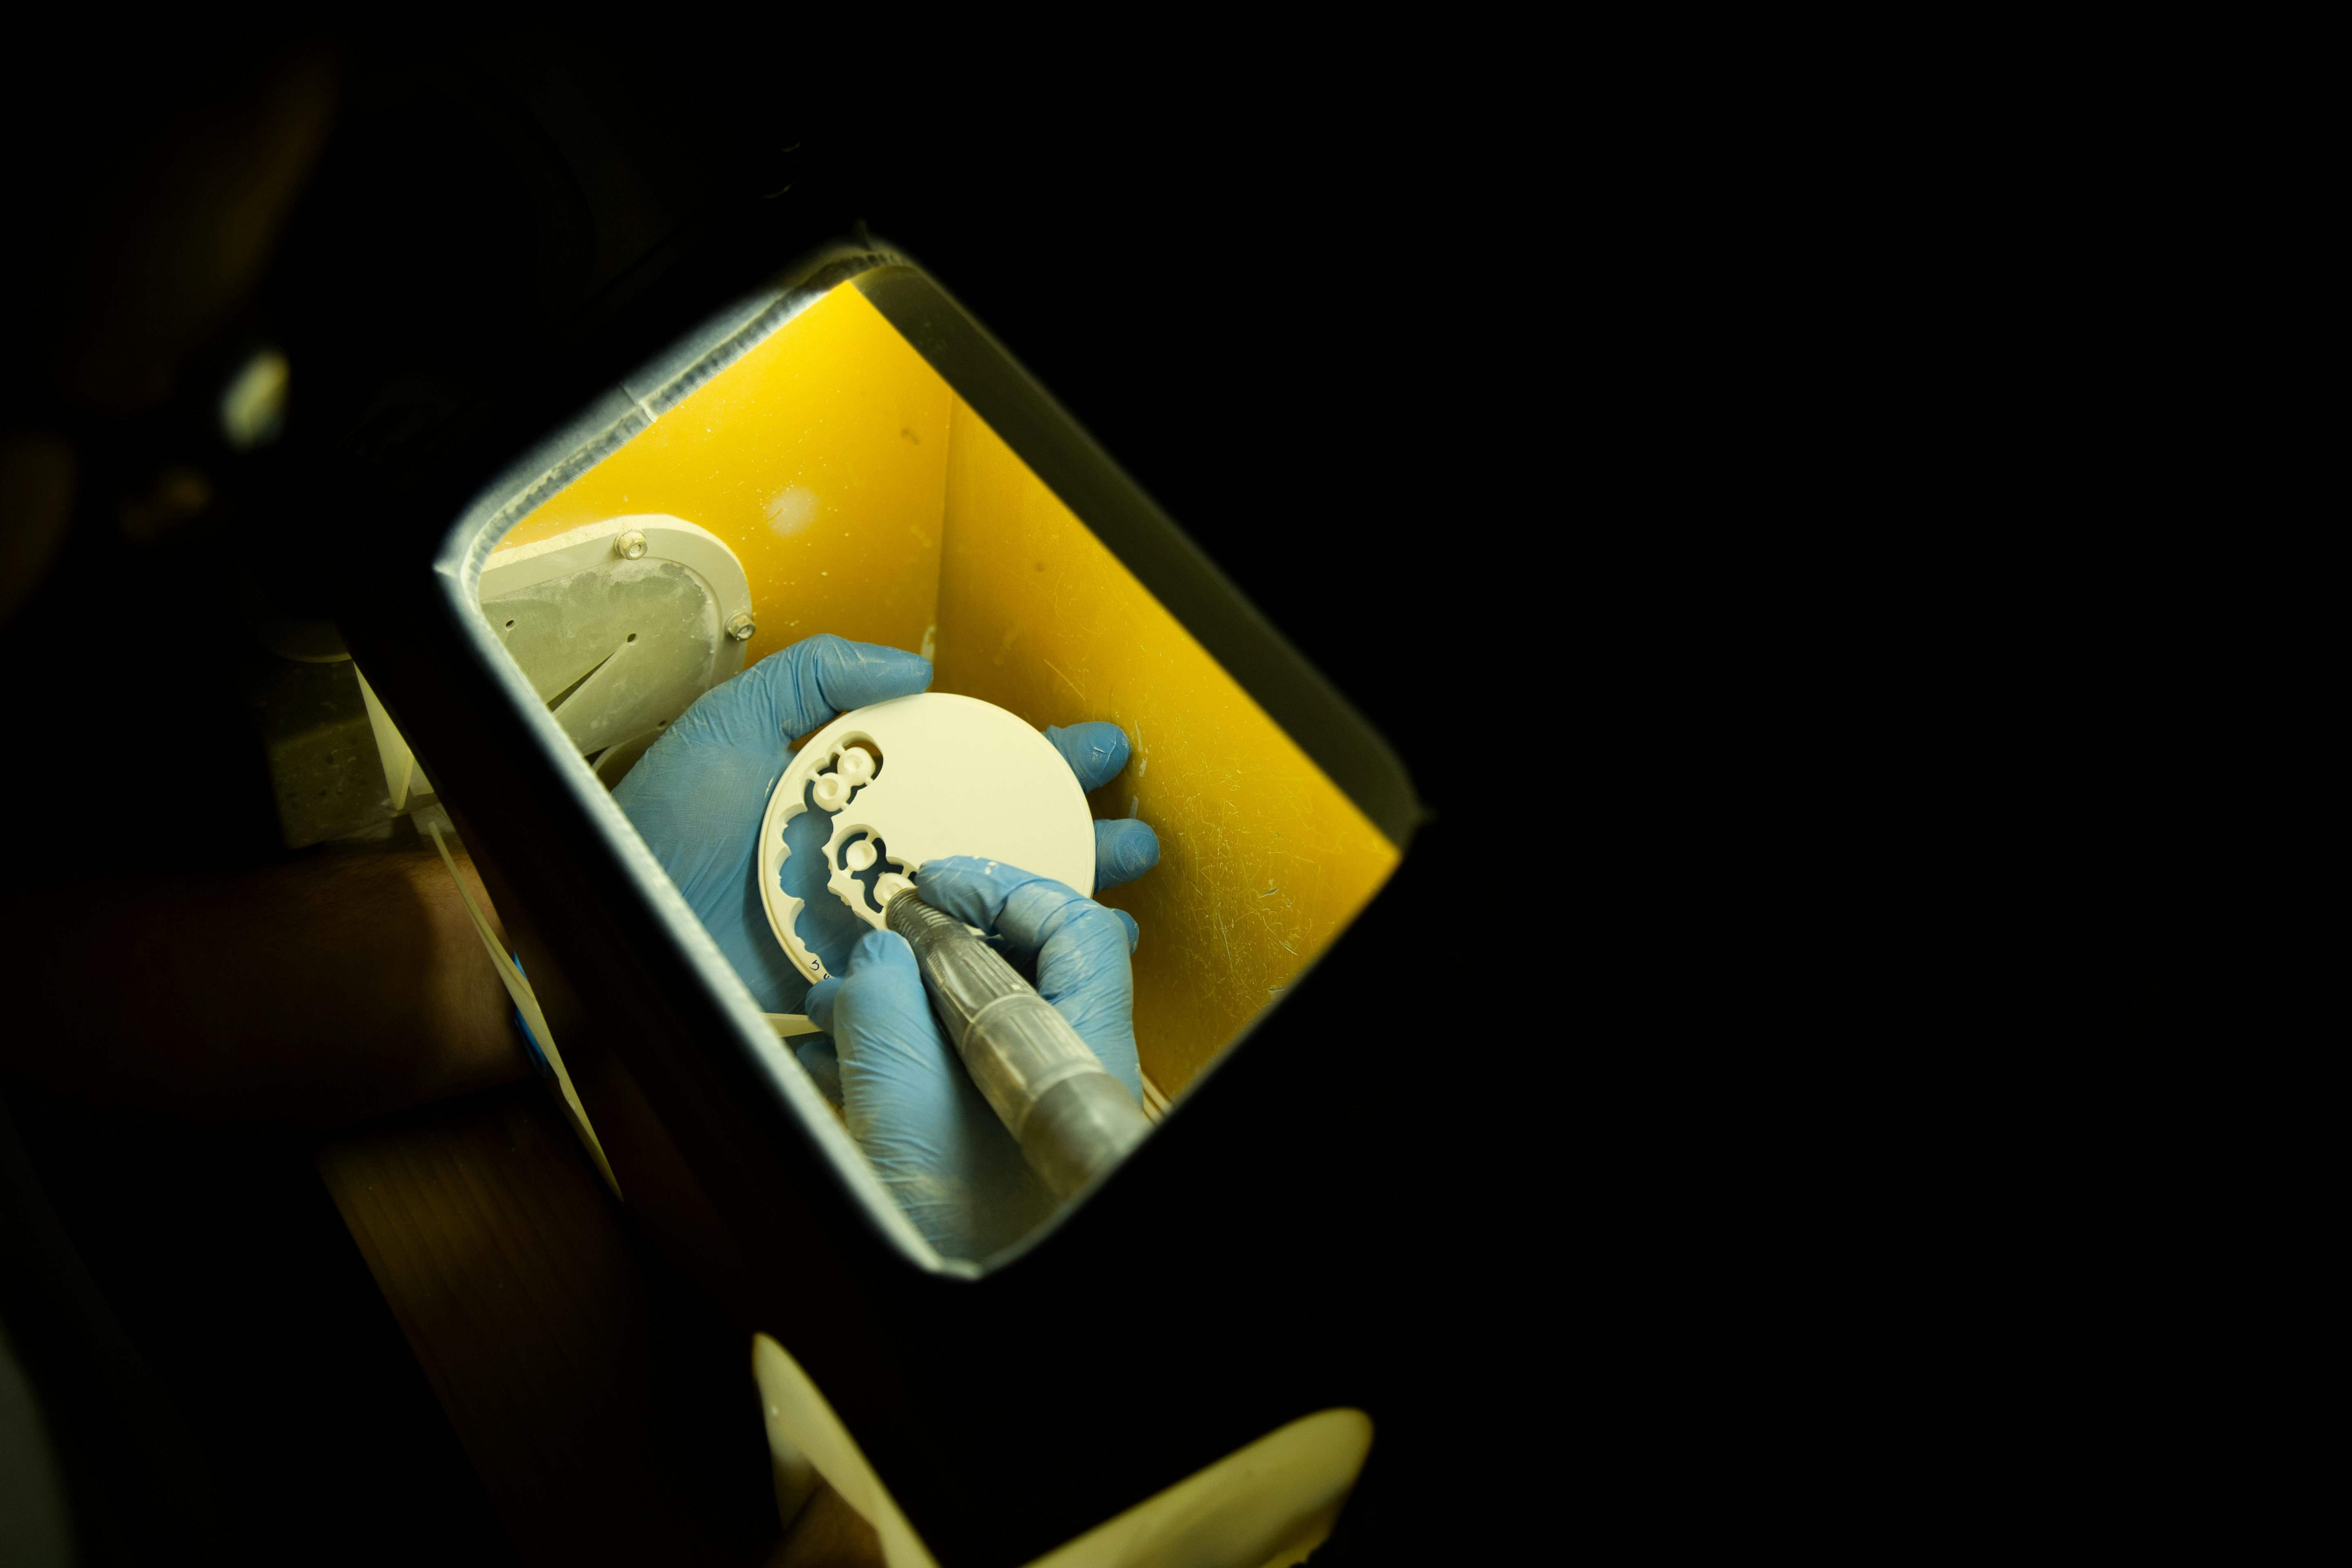
Shaping the Acrylic for Fake Teeth
Acrylic is a popular material used to make fake teeth, as it closely resembles natural teeth. In order to shape the acrylic into a form that resembles real teeth, several steps must be taken. First, the acrylic must be heated until it becomes malleable. This can be done by placing it in a container of hot water or by using a special heating device. Once the acrylic has been heated, it can be shaped with dental tools such as a dental drill or a file. The acrylic must then be cooled in order to keep its shape. After this, the fake tooth can be polished and finished with a special coating in order to give it an even more realistic look and feel.
The shape of the fake tooth is largely determined by the dental impression taken from the patient’s mouth. The impression will provide information about the size and shape of the fake tooth needed, as well as how much space should remain between adjacent teeth. With this information in hand, dentists can then use their tools to create an acrylic replica that closely matches the patient’s natural teeth.
The process of shaping and finishing acrylic for use as fake teeth requires great skill and precision on the part of dentists. It is important that they pay close attention to detail when creating these prosthetics so that they will look and feel like natural teeth and provide patients with improved oral health and aesthetic appeal.
Finishing the Fake Teeth with Acrylic
Dentures made of acrylic are a popular choice for replacing missing teeth. Acrylic dentures are custom-made for each patient and can be adjusted to fit the shape of the mouth. They are also relatively inexpensive compared to other types of dentures, making them a great option for those looking for an affordable solution to tooth loss. When it comes to finishing the fake teeth with acrylic, there are a few steps that must be taken.
First, the dentist will use special tools to shape and contour the acrylic so that it fits comfortably in the patient’s mouth. Then they will apply a layer of acrylic primer to help bond the plastic material to the denture base. After this has been done, a layer of special acrylic paint is applied to give the fake teeth an even color and texture.
Once all of these steps have been completed, it is time to seal and polish the fake teeth with acrylic. This is done using specialized tools such as rotary polishers and vibratory polishers that buff out any imperfections in the surface of the teeth. The final step involves applying a clear coat of protective varnish which helps keep moisture out and prevents discoloration over time.
By following these simple steps, patients can have their fake teeth finished with acrylic in just a few hours, allowing them to start enjoying their new smile instantly! With proper care and maintenance, these dentures can last for many years before needing replacement or repair.
Caring for Your False Teeth Made with Acrylic
Caring for false teeth made with acrylic is a simple process that involves brushing, soaking and regular check-ups. Proper care will help keep your false teeth in good condition for many years. It’s important to follow the instructions given by your dentist or prosthodontist to ensure proper care of your false teeth.
Brushing your false teeth regularly is essential for good oral hygiene. Use a soft-bristled toothbrush and non-abrasive toothpaste to gently brush all surfaces of the false teeth, including the inner surfaces. Make sure to rinse thoroughly after brushing to remove all debris from the surface of the false teeth. It’s also important to floss your false teeth daily as this helps reduce plaque buildup and prevent gum disease.
Soaking your false teeth overnight is also important in order to keep them clean and free from bacteria and food particles. Use a denture cleaner or mild dish soap and lukewarm water when soaking your false teeth. Be sure not to use boiling water as it can damage the acrylic material of the false teeth. Also avoid using any harsh chemicals or abrasives when cleaning as this can damage the surface of the false teeth.
It’s also important to visit your dentist or prosthodontist regularly for check-ups on your false teeth, even if they don’t feel uncomfortable or loose. Regular check-ups will help ensure that any minor problems are identified early on and treated before they become more serious issues that require more extensive treatment. Keeping up with regular check-ups will help ensure that you get many years of wear out of your false teeth.
Conclusion
Making fake teeth with acrylic is a quick and easy process that can help you achieve the look you want. It can be done at home with minimal supplies and can be completed in a short amount of time. The key to success is knowing how to properly mix the acrylic, apply the adhesive, and shape the fake teeth. With practice, you will be able to create realistic-looking fake teeth without spending a fortune on expensive dental treatments.
If you’re looking for an affordable and convenient way to transform your smile, making your own fake teeth with acrylic is definitely worth considering. With some patience and a few simple supplies, you’ll be able to have a brand new set of pearly whites in no time!