
If you have a composite filling that needs to be removed from your teeth, it is possible to do this at home. However, it is important to note that the procedure should only be attempted if you are confident in your ability to do so and are comfortable with the risk of further damage or injury. In this article, we will discuss how to remove composite from teeth at home. We will cover the necessary materials and techniques needed for successful removal, as well as some safety tips and advice on when it is best to seek professional help.A composite material is a material made from two or more different materials that are combined together to form a single material with improved properties. These materials are usually a combination of different elements, such as fibers, metals, plastics, and rubbers. These components are combined to create a material with enhanced strength, durability, and other desirable properties.
Composite Removal Reasons
Composite materials are often employed in a variety of applications for their strength and durability, but there are also times when it is necessary to remove composite material from a structure. In many cases, composite removal is necessary due to damage or deterioration, but there are also other common reasons why composite may need to be removed. Here are some of the most common reasons for composite removal:
1. Damage or Deterioration – When composite materials have become damaged or have deteriorated due to age or exposure to the elements, they may need to be removed in order to repair the structure or replace the material with something more suitable.
2. Change of Design – When structures are redesigned or remodeled, it may be necessary to remove existing composites in order to make room for the new design. This could be due to changes in size, shape, or color of the new design.
3. Safety Concerns – In some cases, composite material may need to be removed due to safety concerns such as flammability or toxicity issues. If a structure is deemed unsafe due to the presence of composite materials, they may need to be removed and replaced with a material that meets safety standards.
4. Maintenance Issues – Composite materials can sometimes require more maintenance than other materials and when this becomes too expensive or impractical it may be necessary to remove them and replace them with a less maintenance-intensive material.
5. Cost Effectiveness – Removing existing composites can sometimes save money if it opens up opportunities for using more cost-effective materials in place of the original composites that were used in construction.
Preparing for Teeth Removal at Home
Removing teeth can be an intimidating process, but if you take the time to prepare properly, it can be done safely and with minimal discomfort. Before having your teeth removed, there are a few things you can do to make the process easier. Here are some tips for getting ready for a tooth extraction at home.
First, get yourself organized and make sure you have all the necessary supplies on hand. This includes gauze, cotton swabs, dental floss, and painkillers like ibuprofen or acetaminophen. It’s also important to have a cold compress handy to help reduce swelling after the procedure.
Next, it’s important to practice good oral hygiene in the days leading up to your extraction. Brush your teeth twice a day and floss regularly to help reduce the risk of infection after your procedure. Additionally, avoid eating hard or chewy foods as these can cause further damage to your tooth.
It’s also important to stay hydrated in the days leading up to your extraction. Drink plenty of water and avoid sugary drinks that can cause more harm than good. Additionally, try to relax and get plenty of rest before your procedure as this will help reduce stress and make the process easier.
Finally, speak with your dentist about any questions or concerns you may have before undergoing a tooth extraction at home. Your dentist will be able to provide additional advice on how best to prepare for your procedure and ensure that it goes as smoothly as possible. With proper preparation and care, removing teeth can be done safely and without too much discomfort or stress.
Removing Composite From Teeth At Home
Removing composite from teeth at home can be a difficult and daunting task. It is important to understand the risks and steps involved in this process before trying it at home. The first step is to consult with a dentist to ensure that the composite is safe to remove. If the dentist approves, then it is necessary to prepare the area by cleaning the tooth with an antiseptic solution. This will help protect the tooth from infection and will also make it easier for the composite to be removed.
Once the area is prepared, it is important to use a dental pick or other sharp tool to carefully remove as much of the composite as possible. It may be necessary to use a dental drill or other tools for more stubborn pieces of composite. It is important to exercise caution when using these tools, as they could cause damage if used incorrectly. Additionally, it may be helpful to use a light source like a flashlight or magnifying glass while removing the composite so that any remaining pieces can be seen more easily.
After all of the composite has been removed, it is important to clean and polish the area with an antibacterial solution and a soft-bristled toothbrush. This will help protect against any further infection and will also help with any discoloration that may have occurred during the removal process. Finally, it is recommended that any remaining pieces of composite are sealed off with dental cement in order to prevent them from becoming loose again in the future.
Overall, removing composite from teeth at home can be done safely if done correctly. However, it is always best practice to consult with a dentist before attempting any type of dental procedure at home so that complications can be avoided.
What Tools Are Needed For Removing Composite?
Removing composite materials can be a tricky process as different tools are required for different types of composite removal. Generally, the following tools are needed for the removal of composite materials:
First, a heat gun or torch is necessary for softening the composite material and making it easier to remove. A wire brush or grinder is also helpful in removing residual composite material from surfaces. If using a wire brush, it is important to note that only stainless steel should be used as other types of wire brush can cause damage to the underlying surface. A scraper can also be used to pry off stubborn pieces of composite material.
In addition, when removing large sections of composite, a saw or jigsaw may be needed. These tools can quickly cut through most types of composite materials with ease. Finally, safety goggles and gloves should always be worn when removing composite materials from any surface, both for safety and to avoid getting dust or debris in your eyes or on your skin.

Gather the Necessary Supplies
Before beginning to remove composite from your home, it is important to ensure that you have all of the necessary supplies on hand. This includes safety equipment such as protective goggles, gloves, and a dust mask; tools such as a hammer, chisel, pry bar, and screwdriver; and materials such as rags, adhesive remover, and a drop cloth. Additionally you may also want to have some replacement composite material on hand for areas where composite will need to be patched or replaced.
Prepare the Area for Removal
Once you have gathered all of the necessary supplies it is important to prepare the area for removal. This includes removing any furniture or other items in the area that may be in the way. It is also important to cover surrounding surfaces with drop cloths or plastic sheeting in order to protect them from debris created during the removal process.
Remove Composite Using Tools
Using your hammer and chisel begin slowly chipping away at the composite material starting at one edge and working your way across. Be sure to wear protective goggles throughout this process as fragments may come flying off of the composite during removal. Once you have removed all of the large pieces of material use a pry bar or screwdriver to remove any remaining smaller pieces.
Clean Up Debris
Once all of the composite has been removed it is time to clean up any debris that was created during removal. Use a vacuum cleaner with an appropriate attachment for small particles or a broom and dustpan for larger particles. Be sure to dispose of all debris properly in accordance with local regulations.
Apply Adhesive Remover
If there are still remnants of adhesive left behind after removing composite use an adhesive remover according to its instructions. This will help loosen any remaining residue so that it can be easily removed.
Patch or Replace Any Damaged Areas
Finally inspect the area for any damage that may have occurred during removal and patch or replace any damaged areas with new composite material if necessary. Once complete your project should be complete!
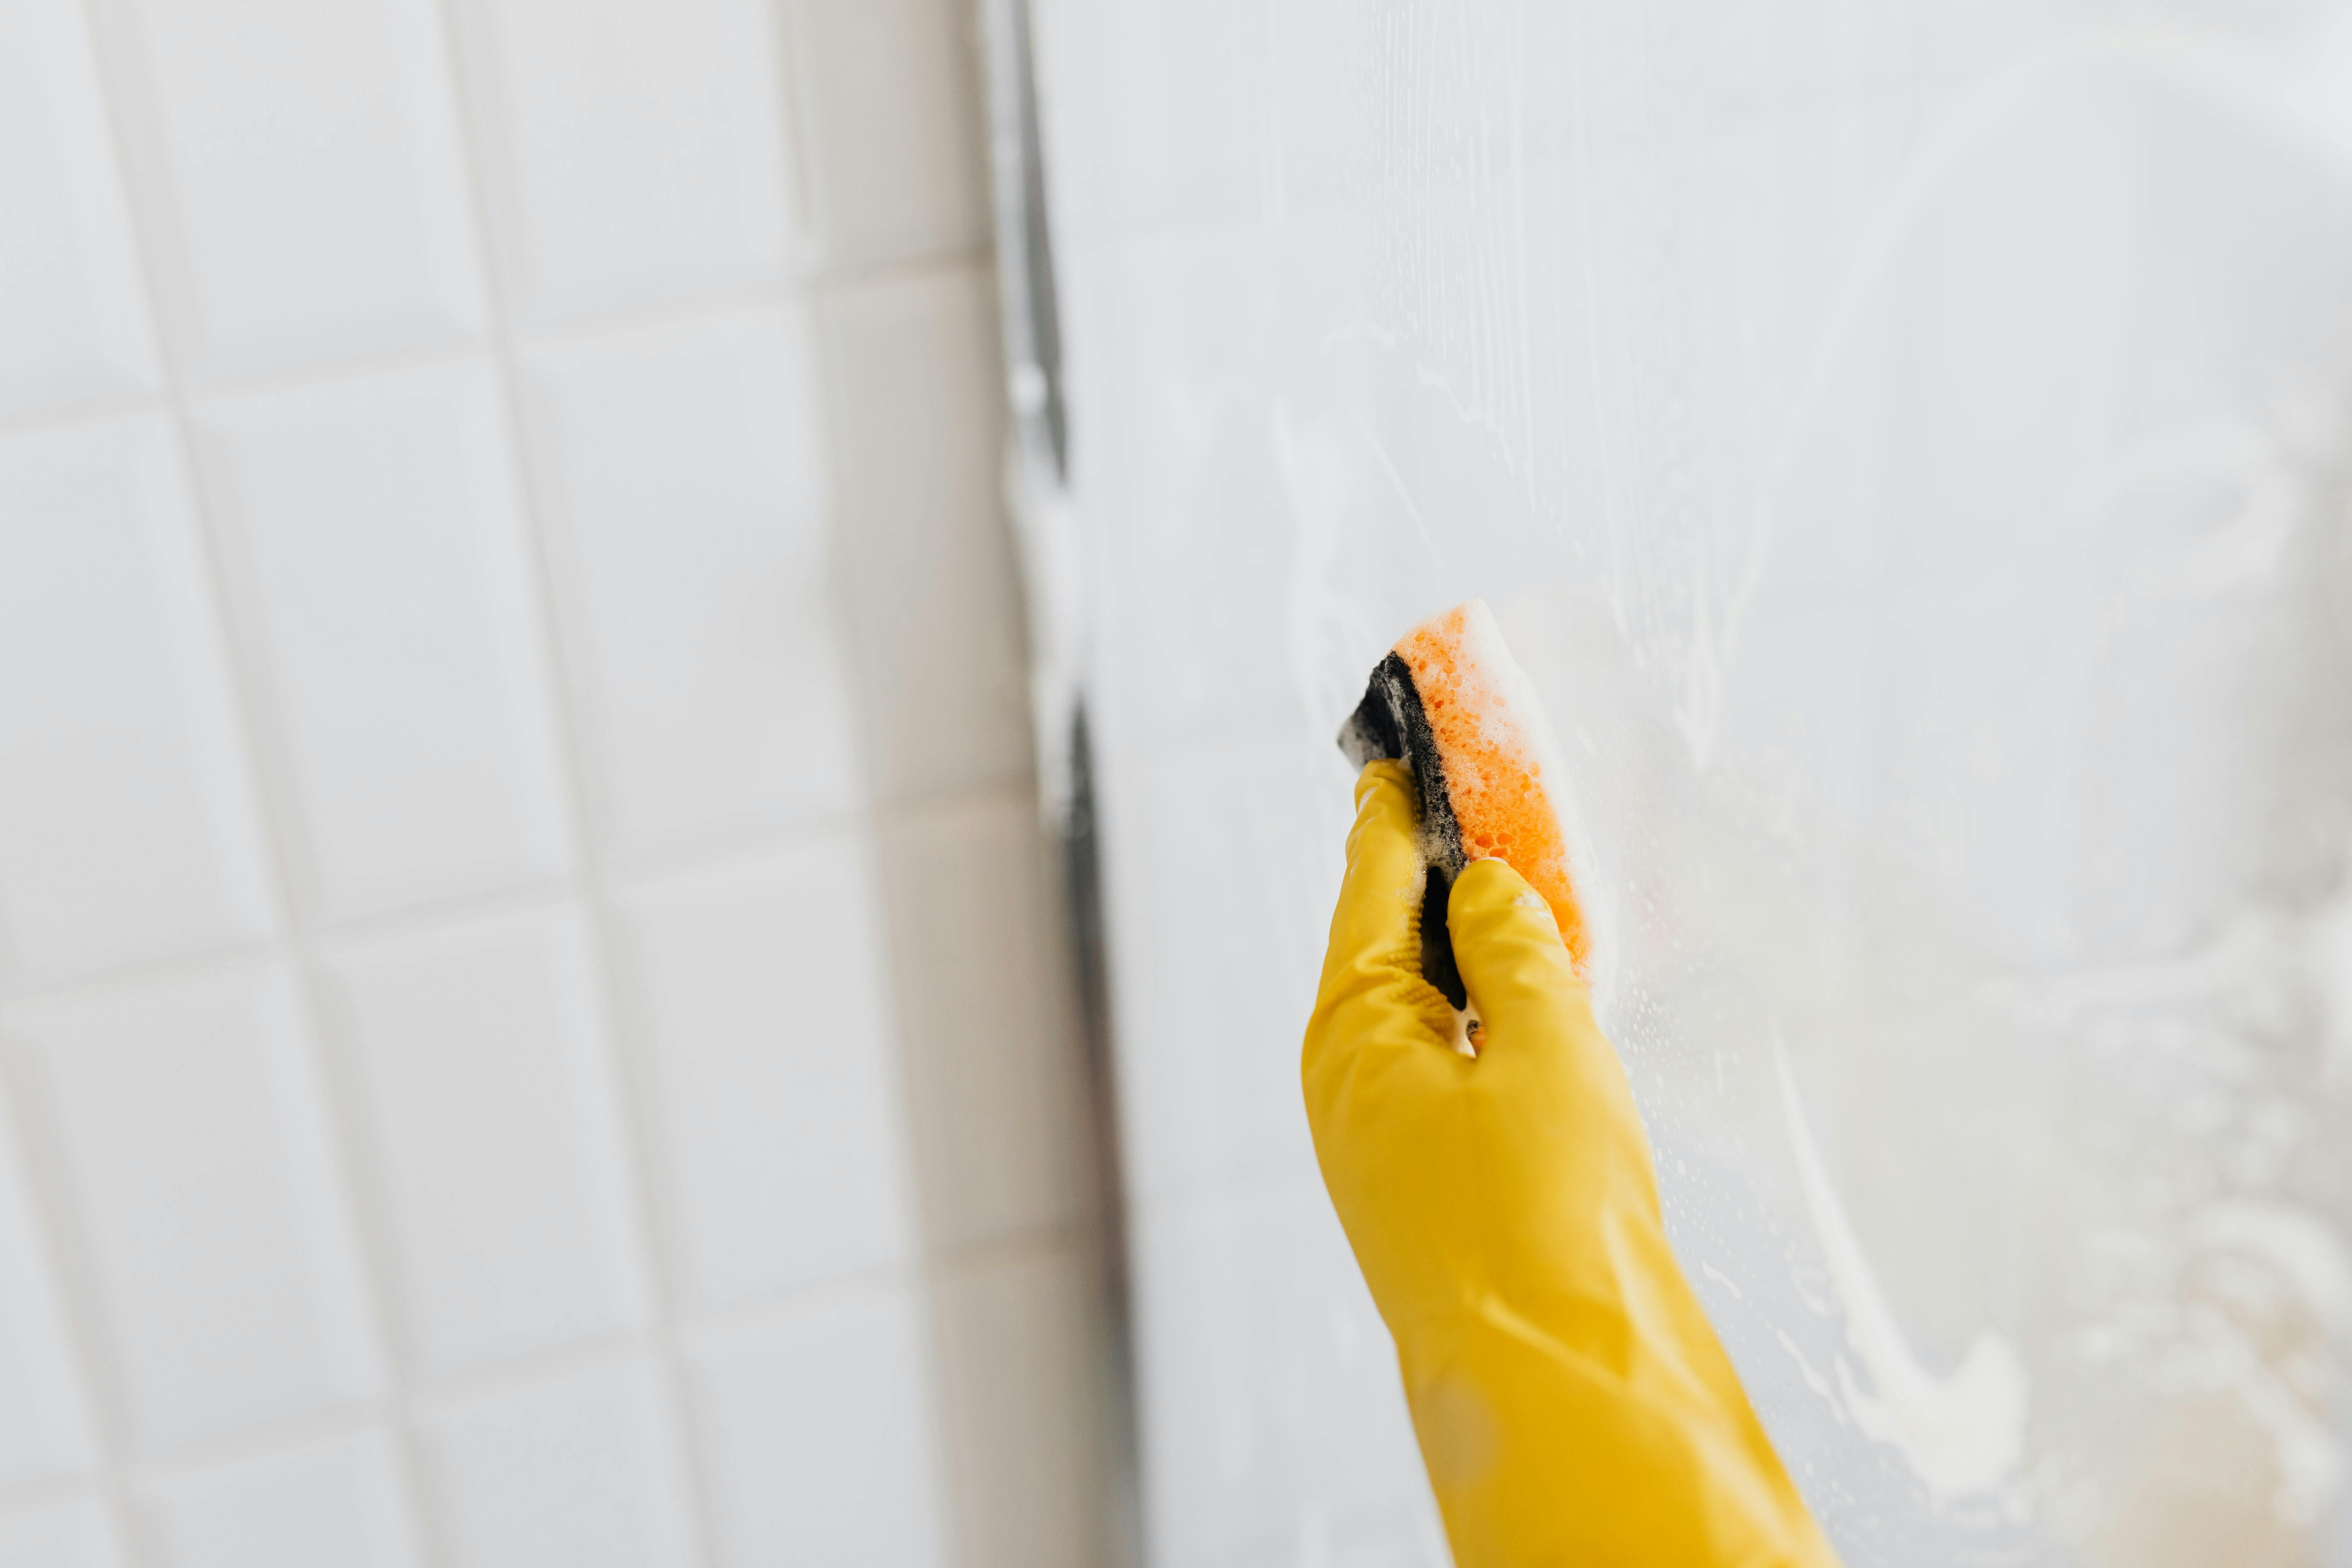
Cleaning the Area After Removing Composite
After removing composite material from an area, it is important to clean the area properly. This is to make sure that all traces of the composite are removed and that the area is safe for other activities. The best way to clean the area after removing composite is to use a vacuum cleaner with an appropriate attachment. Vacuuming will help remove all dust and debris from the surface, as well as any remaining particles of composite material.
If there are any stubborn pieces of composite material that are difficult to remove, a putty knife can be used. The putty knife should be used in a scraping motion in order to loosen any remaining pieces of composite material. It is important not to use too much force when scraping, as this could damage the underlying surface.
Once all of the composite material has been removed, it is important to clean the area thoroughly using a damp cloth or sponge. This will help remove any residues from the surface and ensure that it is completely free of any remaining traces of composite material. Once the area has been cleaned, it should be dried off with a clean cloth or paper towel in order to prevent moisture damage.
Finally, it may also be necessary to use a solvent-based cleaner in order to further remove any traces of adhesive or sealant from the surface. It is important not to use too much solvent-based cleaner on sensitive surfaces, as this could cause damage or discoloration. When using a solvent-based cleaner, it is also important to follow all safety instructions provided by the manufacturer and take proper precautions when handling chemicals.
Caring for Your Teeth After Removing Composite at Home
When it comes to dental care, it is important to take extra special care when removing composite at home. While it may seem like a simple task, removal of composite material can put your teeth at risk for further damage or infection. Proper care and maintenance after the procedure is essential in order to ensure good oral health. Here are some tips on how to care for your teeth after removing composite at home.
First, make sure you clean the area thoroughly with an antibacterial mouthwash or toothpaste. This will help prevent bacteria from entering into the area where the composite material was removed and causing further damage or infection. You should also rinse with warm salt water or salt-water solution to remove any remaining debris from the tooth surface.
Second, be sure to floss regularly after removing composite material from your teeth. Flossing helps remove any trapped food particles and debris that can lead to plaque buildup and other dental issues. Regular flossing can also help keep your gums healthy by preventing gum disease and periodontal disease.
Third, use a soft-bristled toothbrush when brushing your teeth after removing composite material at home. Soft bristles are more gentle on your teeth and gums than hard bristles, which can cause further irritation or damage to the area where the composite was removed.
Finally, make sure you visit your dentist regularly for checkups and routine cleaning appointments. Regular visits with your dentist will help catch any potential problems before they become serious and will ensure that your oral health remains in top condition.
By following these tips for caring for your teeth after removing composite material at home, you can ensure that you maintain good oral health and prevent any further damage or infection from occurring in the future. Taking proper care of your teeth is essential for keeping them healthy and strong over time.
Conclusion
Composite resin is a great way to fill in cavities and repair damaged teeth. It can also be used to whiten teeth, protect them from further decay, and correct minor dental defects. However, if it is not properly cared for, composite resin can become discolored or stained over time. Removing composite from teeth at home is possible using a few different methods, such as using baking soda or vinegar and water solutions. However, it is important to remember that removing composite at home can be time consuming and may not produce the desired results. If you are concerned about the appearance of your composite restorations, it is best to visit your dentist for professional advice and treatment.
Overall, removing composite from teeth at home can be done with some simple household items like baking soda or vinegar. Be sure to follow the steps carefully and take extra precaution when using any abrasive material to avoid damaging your teeth or gum tissue. If you are not satisfied with the results of these DIY treatments, then it is best to consult your dentist for further care and advice.