
Prepare the Fake Nails
Before applying fake nails, it is important to take the necessary steps to prepare your nails for the application. Start by making sure the nails are clean and free of any dirt, oils, or debris. It is also important to make sure that your nails are trimmed and filed to ensure they are an even shape and length. This will ensure that the fake nails adhere properly and last longer. If necessary, use a nail buffer to smooth out any ridges or bumps on your nails before applying the fake nails. Once your nails have been prepped, you can begin to apply the fake nail pieces.
Before you apply each piece of fake nail, make sure the adhesive is applied to both your natural nail and the false nail piece. For a stronger bond, use a high-quality adhesive specifically formulated for artificial nails. Once you have applied all of your false nail pieces, use a cuticle pusher to press down each piece firmly onto your natural nail bed. This will help ensure that each piece is securely adhered in place and lasts longer. Finally, finish off by adding a top coat of clear polish for added shine and protection.
Create a Base for the Teeth
In order to create a base for the teeth, it is important to use materials that are strong and durable. This is especially true if the base will be used for a prosthetic device, such as dentures or bridges. The materials used should be able to withstand the constant pressure of biting and chewing, while also being able to maintain its shape and form over time. It should also be able to resist corrosion, staining, chipping, cracking, and other damage caused by contact with food or liquids.
Most commonly used materials for making a base for the teeth include acrylic resin, thermoplastic polymers, titanium alloy, and porcelain-fused-to-metal (PFM). Each material has its own unique set of advantages and disadvantages that should be taken into consideration when choosing which one will best suit the needs of the patient. Acrylic resin is lightweight and relatively inexpensive compared to other materials; however, it may not offer as much strength or durability as other options. Thermoplastic polymers are more durable than acrylic resin but may not give the same aesthetic appeal as porcelain-fused-to-metal (PFM). Titanium alloy offers both strength and aesthetics but can be quite expensive. Porcelain-fused-to-metal (PFM) provides an aesthetically pleasing option that is both strong and durable; however, it can be difficult to repair if it gets damaged.
When creating a base for the teeth, it is important to consider all of these factors in order to choose the material that best fits the patient’s needs. A qualified dentist or orthodontist can provide guidance on which material would be most suitable for a particular patient’s situation.
Assemble the Teeth on the Base
Assembling the teeth onto the base of a machine is an important step in the overall setup process. It is important to ensure that all of the teeth are properly aligned and securely fastened. To assemble the teeth onto the base, start by positioning each tooth at its designated location. Then, use a screwdriver to secure each tooth by placing screws into pre-drilled holes and tightening them firmly. Make sure each screw is secured tightly so that it does not become loose during operation of the machine. Once all of the screws have been tightened, check to ensure that all of the teeth are properly aligned and secure.
Next, use a torque wrench to check each screw for proper torque. This step is important as it ensures that each screw is tightened correctly and will not come loose during operation. After torqueing all of the screws, place a protective cover over the base and secure it with screws or nails. This will help protect against potential damage caused by dust or debris getting into the assembly.
Finally, check all of the connections for any signs of wear or damage before powering up your machine. If everything looks good, you can now turn on your machine and get started! Assembling teeth onto a base may seem like an intimidating task, but with some patience and attention to detail it can be done quickly and easily.
Attach the Teeth to the Nails
Attaching teeth to nails is a great way to customize and personalize your nails. This creative technique allows you to create beautiful and unique designs that match your individual style. Whether you want something simple or intricate, attaching teeth to nails can be an easy and enjoyable way to express yourself.
The first step in attaching teeth to nails is preparing the nails themselves. Make sure that the nail bed is clean and free of any debris before starting. You can use a nail brush or file to gently buff the surface of your nail, removing any rough patches and creating a smooth base for the design. Once you’ve finished prepping your nails, it’s time to attach the teeth.
To attach the teeth, you’ll need a pair of tweezers or small nail scissors. Take one tooth at a time and carefully place it on your nail using either tool. Make sure that each tooth is securely fastened before moving on to the next one. You may find it helpful to practice placing teeth on scraps of paper or other surfaces first before attempting it on your actual nails. This will help you get used to working with the material and give you a better understanding of how they should look when attached correctly.
Once all of your teeth are attached, use top coat polish over them for added protection and shine. Allow them ample time to dry before adding a second coat as needed. When everything has dried completely, you’ll have beautiful customized nails that are sure to turn heads! Attaching teeth to nails is an easy yet creative way to show off your individual style and make a statement with your manicure!
Enhance the Teeth
Dental enhancements are one of the most common treatments available today. They involve reshaping and tinting of the teeth to give a more beautiful and natural look. This can be done through a variety of methods, such as veneers, bonding, crowns, bridges, and inlays/onlays. Veneers are thin shells that cover the front surface of teeth in order to improve their appearance. Bonding involves the use of a composite resin material to fill in gaps or chips in teeth. Crowns are custom-made caps that cover damaged or discolored teeth, while bridges can be used to replace missing teeth. Inlays and onlays are used to restore large cavities or broken cusps on back teeth. Dental enhancements can also help correct crooked or misaligned teeth and provide support for weakened ones.
Decorate the Teeth
In addition to enhancing your smile with dental treatments, you can also decorate your teeth with cosmetic dentistry procedures. These include tooth whitening, enamel shaping, gum reshaping, and dental implants. Tooth whitening is achieved using bleaching agents that remove stains from the tooth enamel. Enamel shaping involves removing small amounts of enamel around the edges of your teeth to create a more uniform shape and size. Gum reshaping is done by removing excess gum tissue from around your teeth to improve their appearance. Dental implants are artificial tooth roots placed into the jawbone which act as anchors for replacement teeth.
Overall, there are many ways to enhance and decorate your smile with dental treatments. Whether you’re looking for a subtle change or major transformation, there are options available that can help improve your smile’s appearance and confidence level.
Securely Glue the Fake Teeth onto The Nails
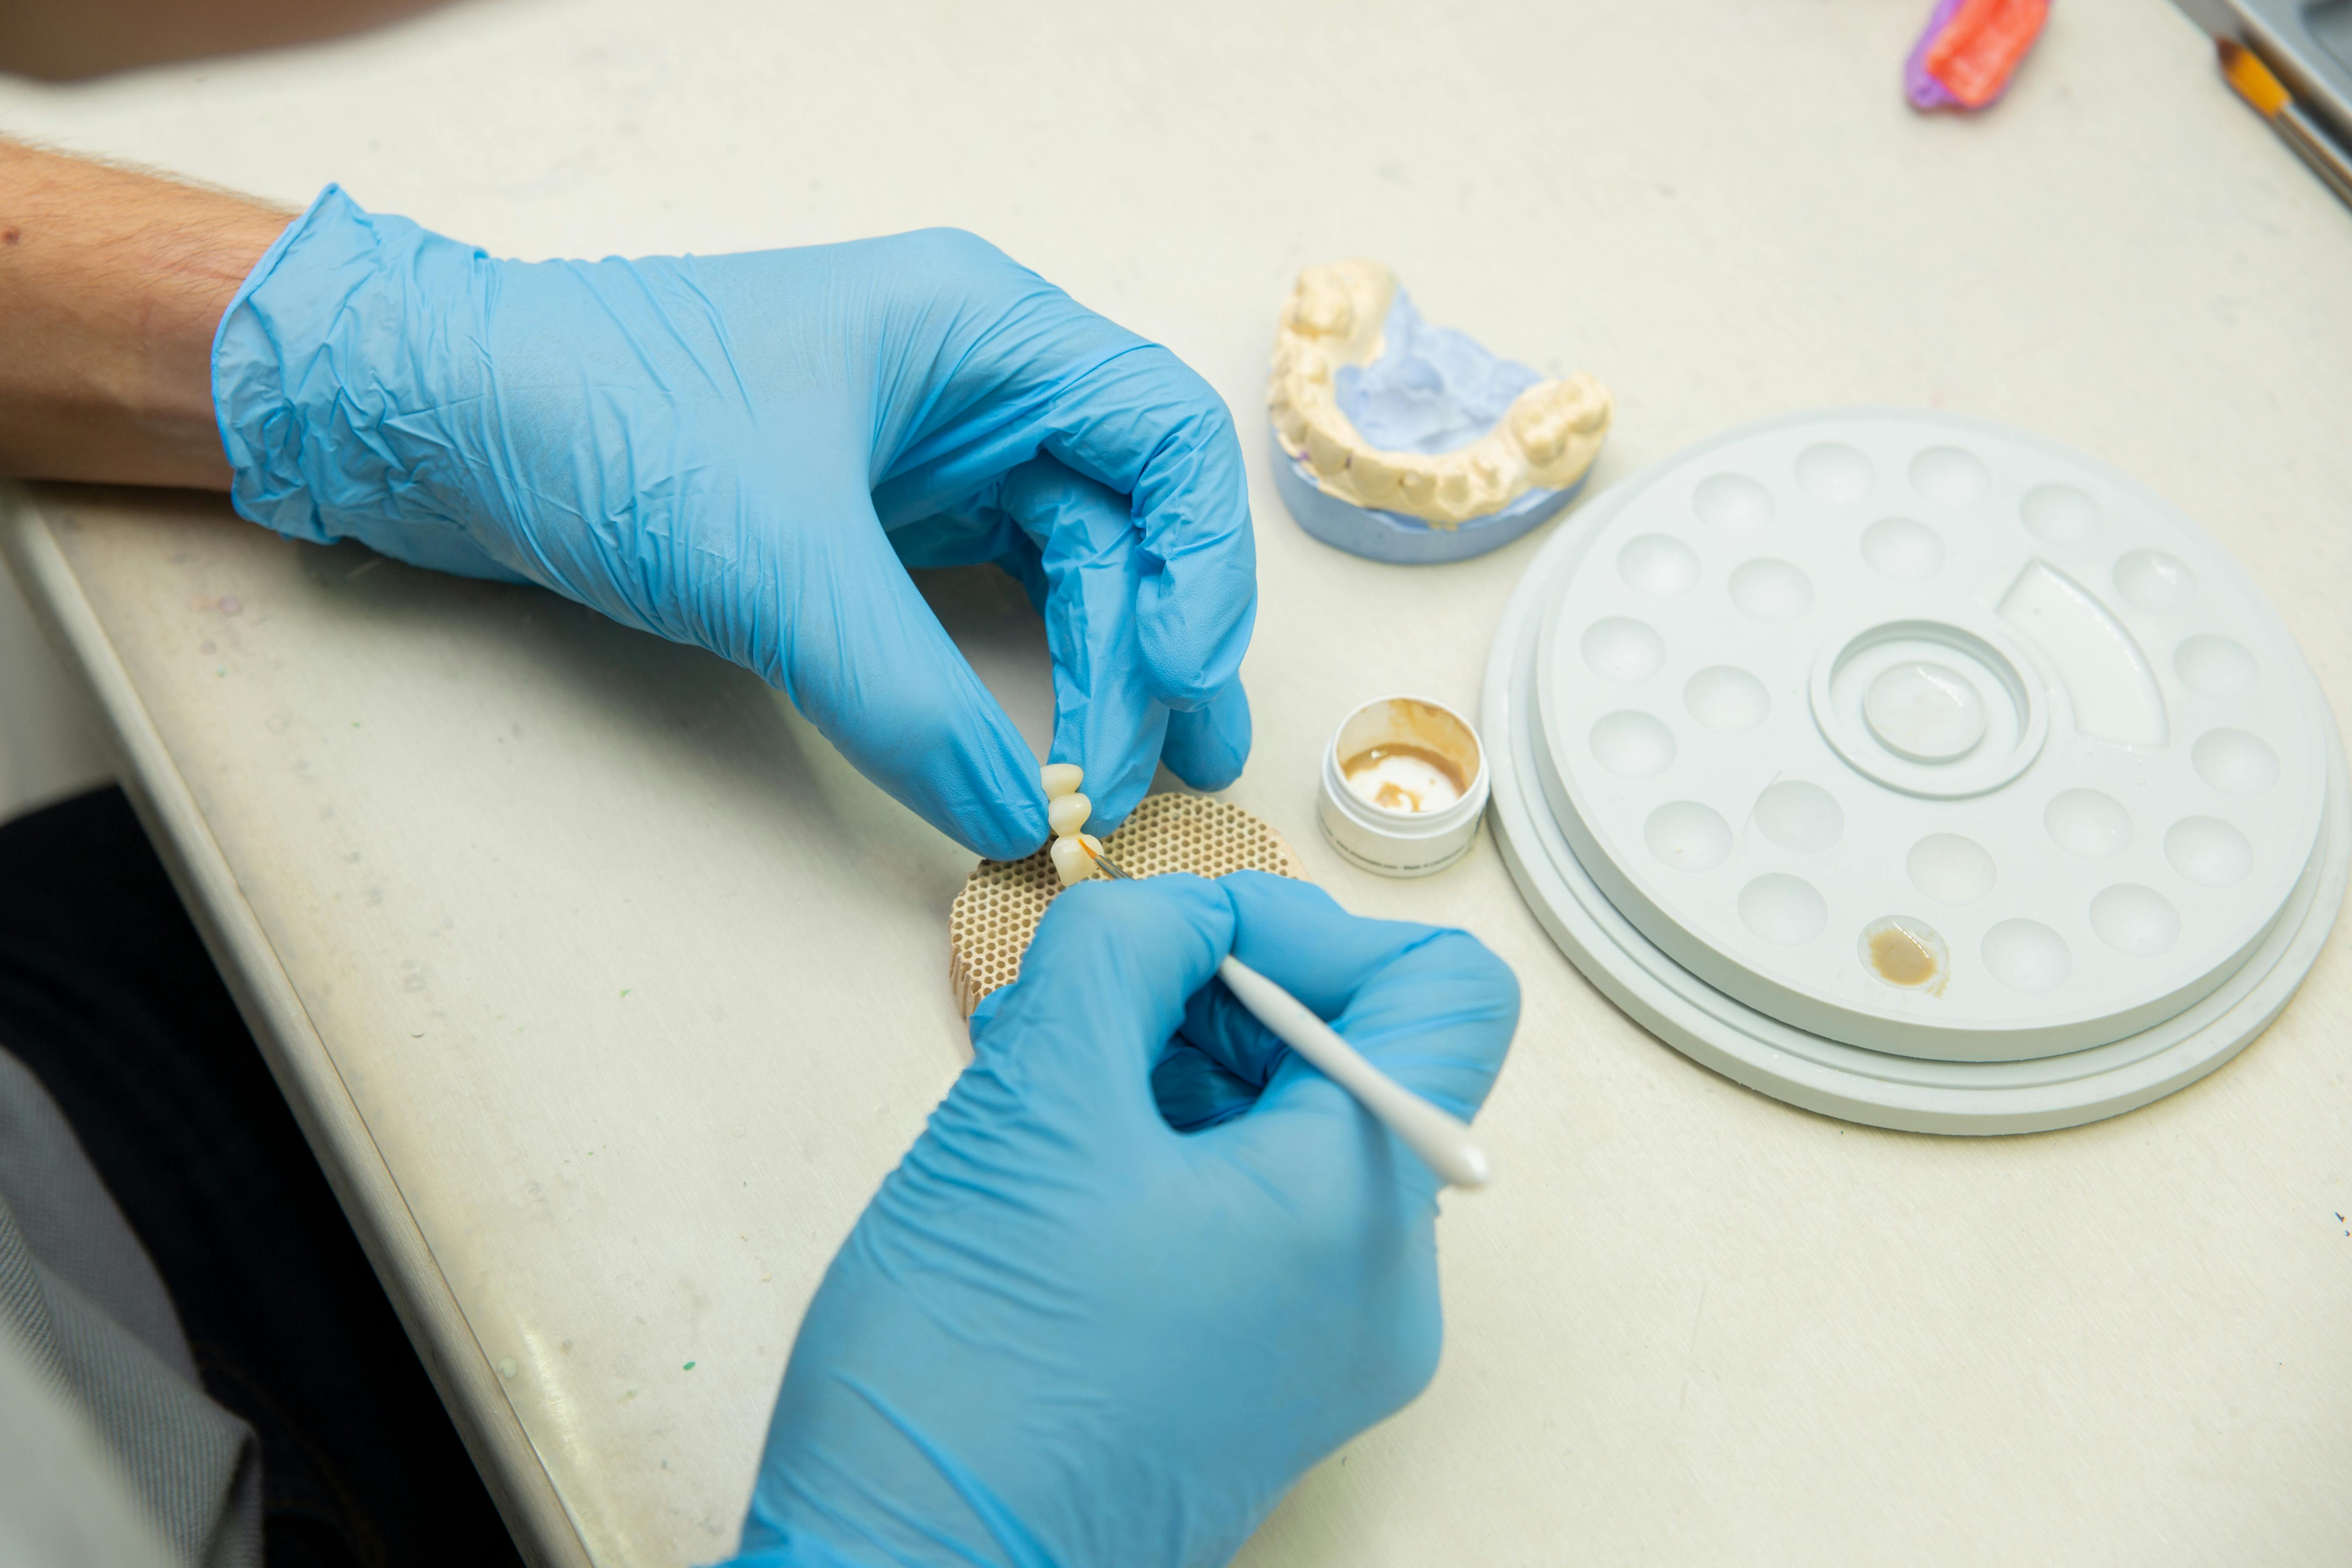
Gluing fake teeth onto nails can be a tricky process. To ensure that the teeth adhere securely, it is important to use the right materials and techniques. First, you’ll need to select the appropriate glue for the job. A good quality craft glue is usually enough to do the trick, but it is important to read the instructions on the package carefully before proceeding. Once you have chosen your glue, take care to apply it evenly across both surfaces of each nail and tooth. Be sure to spread it out evenly with a brush or a cotton swab.
Once you have applied the glue, leave it for a few minutes so that it can set properly before attempting to attach the teeth onto the nails. When you’re ready, press each tooth firmly against its corresponding nail. This will help ensure that they stay in place once they are securely glued. If necessary, use something like a pair of pliers or tweezers to hold them together while they are drying and setting. Once all of your teeth are in place, leave them for at least 24 hours so that they can cure properly before trying to use them.
Finally, it is important to make sure that your fake teeth are properly secured before using them. Use an adhesive remover or alcohol-based solution to remove any excess glue from around your nails and teeth before applying any extra adhesive if needed. Doing this will help ensure that your fake teeth stay firmly attached and won’t come off easily during wear and tear. With some patience and care, you should be able to securely glue your fake teeth onto your nails with ease!
Conclusion
Making fake teeth with fake nails can be a great way to easily create realistic dentures. It is a fun and inexpensive craft project that can be done in the comfort of your own home. This method is not only easy to do, but it is also very affordable. The end result can be quite impressive, and you may even find yourself surprised at how real it looks!
Fake teeth made with fake nails are a great way to experiment with different styles and designs, allowing you to have some fun while creating realistic dentures. It is important to remember that this method is not as durable as professionally made dentures, so it should not be used for long-term dental health. However, it can still be an excellent way to practice and create your own unique set of false teeth!